Making Worm Bling
Here's a picture of the components used in this post
Here's a list with a few choices - Right to Left starting in top right to bottom
- 20# mono
- go with less test as desired
- Various colored single hooks with raised eyes
- #4s and #2s
- Circle hooks - most expensive
- Octopus Hooks - typical
- Bait hooks - least expensive
- 3D Prism eyes lacquered on a flat glass bead
- Propeller blades
- gold and nickel plated brass
- Substitute your blade choice as desired
- Body components
- Substitute and string your component choices per what you have available
- Tri-colored zonker skirts
- Bearing beads
- gold and silver plated brass beads
Tying the rig
Cut the mono to your choice of length, leaving about 6 inches for knotting. I was making 3.5 ft rigs and cut at 4 feet.
Tying the hooks is about as tricky as it gets, everything else is choosing and threading the components in the sequence you want.
I'm right handed, so take that into consideration when reading my explanations.
Here's a picture of hook terminology.
Choose your first hook and thread the mono front to back through the raised eye. I thread about 1/2 inch. Enough that it lies along the shank up to the start of the bend.
The long end of the mono will be wrapped and strung back through the first hooks eye in the opposite direction.
Pinching the short piece of mono tightly to the hook shank with your left hand, grab the longer loose end just in front of the eye with your right and and bend it back under the eye and begin to wrap it clockwise, taking care to wrap each new loop adjacent and behind the first.
The first loop should be just behind the eye. This takes some practice to make the loops close and tight. I wrap about 10 times, up to my left hand.
The 1/2 inch of mono lying on the shaft is now tightly wrapped, but your left hand is still holding the hook stationary. Slightly re-position your left hand grasp, to pinch the loops and keep them from springing free. This action frees up your right hand to finish the knot.
Grab the loose mono and slid your right hand down to its end. Then, thread it back out the raised eye, in the opposite direction of your first pass through the eye. Once threaded, (while still holding the hook with your left hand), grab the threaded line with your right hand and pull out all the slack.
Once you've got most of the slack pulled out through the eye, relax your left hand grip on the remaining small loop.
Continue to grasp the hooks bend and barb with your left hand and cinch the knot tight with with your left hand.
 |
| First hook's knot almost finished |
Nice job, time to admire your work. It looks great, right?
You finally get to let go of the first hook. Time to pick out the second hook.
Re-position both hands to the end of the loose mono. Grasp the line near the end with your left hand and thread the end back to front through the second hooks eye, until you can again grasp the bend and barb with your left hand.
Pull the line carefully through the eye (remember there's a hook tied at the end of it) until the second hook is positioned about 3 inches (barb to barb) from the first.
 |
| Threading the second hook |
You may have to do some hand shuffling to see how the two hooks line up. This is another tricky move I suppose.
I like them lined up, so I start both knots with the line lying along the top of the shaft and the two bends on the same plane. If that's not clear, after tying a few rigs, you'll see what I mean.
At this point, the instructions for the second hook, are the same as the first. Repeat and cinch down the second one.
Time to again admire your work. Nice job!
 |
| Worm Rig - Fluorescent Red #4 Octopus hook |
The hard parts over, don't you love this job!
Stringing the components
There were a couple other time consuming preparation steps I neglected to mention for this job. I'm decking these worm rigs out with tri-color zonker strip skirts and 3D prism eyes.
The zonker strips were hand-tied on small brass tubes. A technique, all of it's own.
The 3D prism eyes were lacquered on to flat glass beads (fire-polished window pane). Another technique, all it's own.
Ignoring those two preparation steps, it's all down hill.
Positioning both hands up to the end of the line, I string a bearing bead on first, then string thru the zonker skirt, then another bearing bead. Then the Prism Eye. Now another bearing bead, the Propeller blade, and a last bearing bead.
 |
| Nice work - I love my job! |
Well done, Time to admire your work again!
Let all the components fall down the line up against the hooks and loop the end back against it's self to tie an overhand knot. Find a place to hang the 4ft rigs and repeat until you've got what you need.
 |
| Fish Creek Spinners multi-color Worm Bling assortment |
I had to worry about packaging these for resale and the 4 ft of leader was a puzzle. I ended up making some 1/2 inch thick 1 inch squares that fit into my clamshell containers.
I seated the hooks and wrapped the slack and other components around the square until finished.
The cube then fit into my packaging, ready for an interested angler to see.
 |
| Fish Creek Spinners Worm Bling |
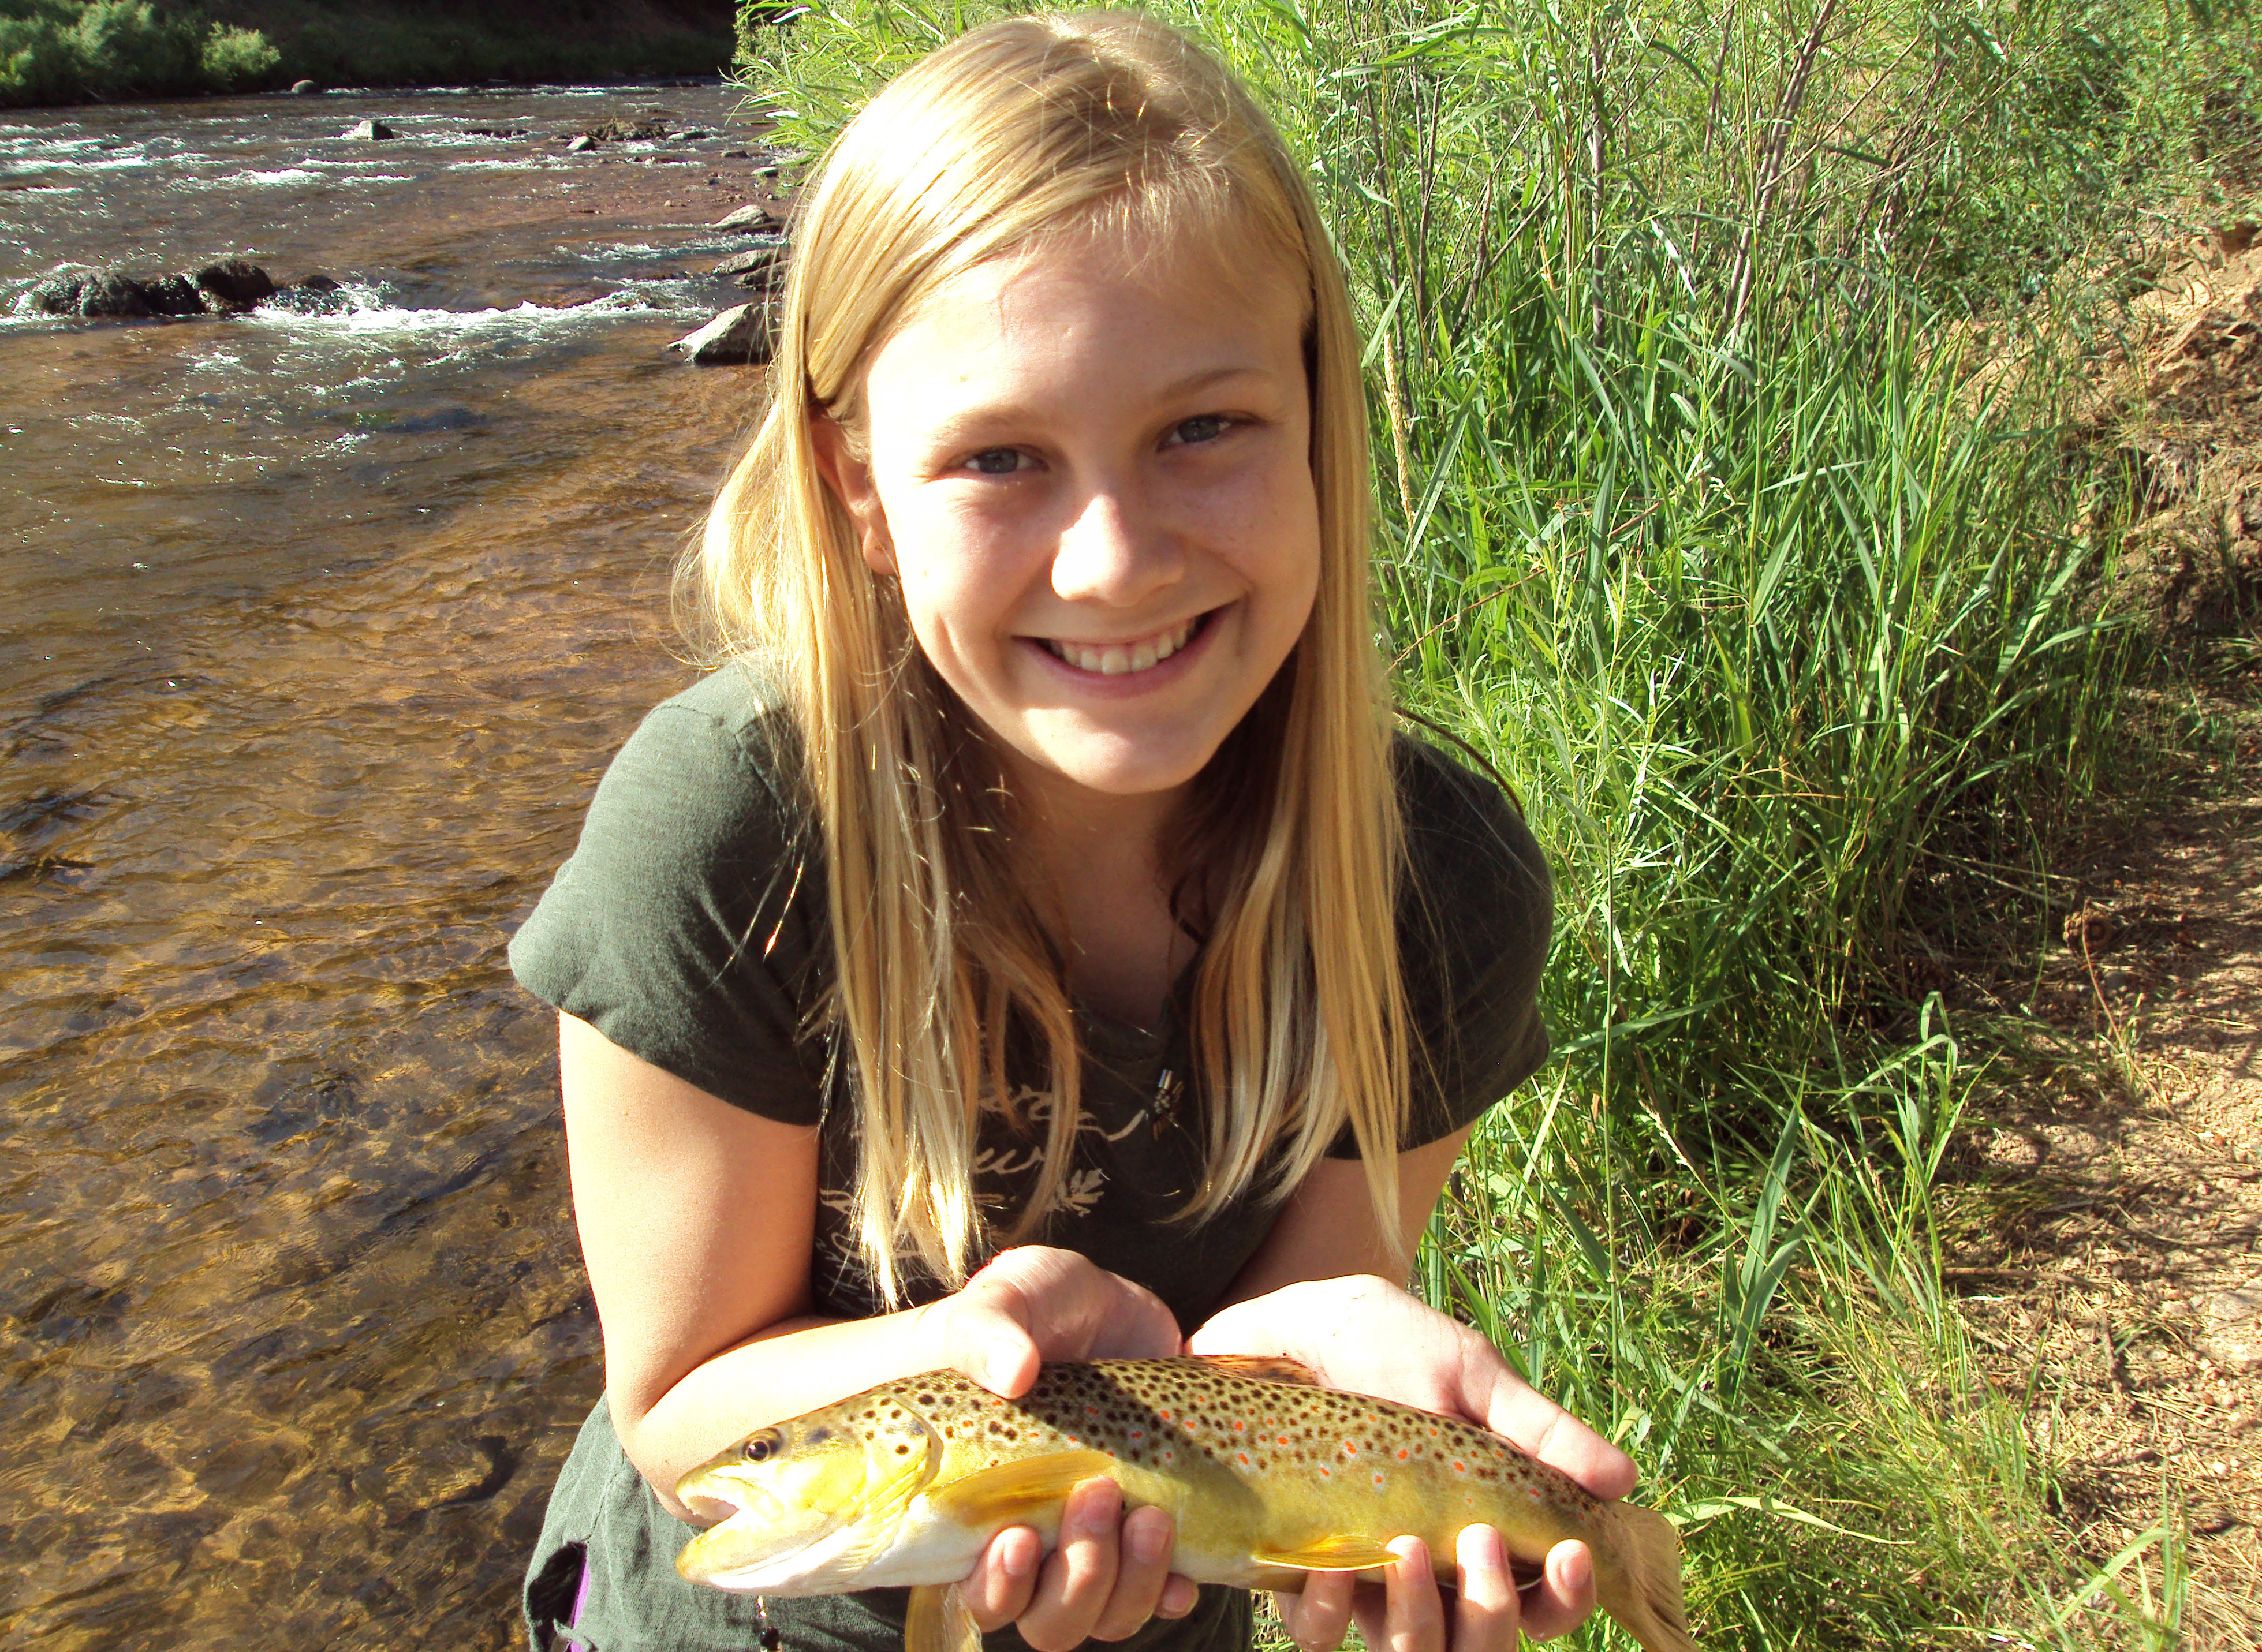
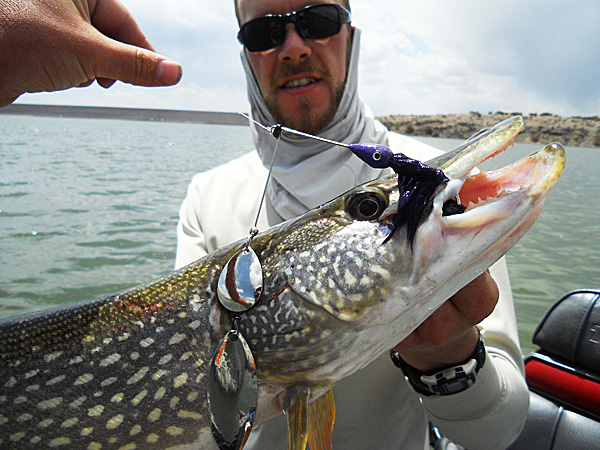
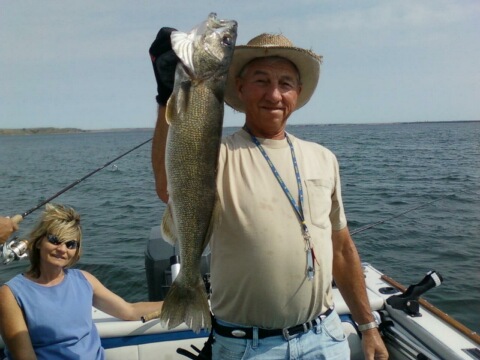
These rigs catch Walleyes being trolled in South Dakota. Guys in Montana have used them for Trout off fly rods, and the propellers will jig great through the ice in a couple months.
It won't be as much fun as making your own, but here's a couple 5 pack assortments over in the Fish Creek Spinners web store just waiting for you!
Gold or
Nickel
Noise on the Line!